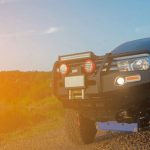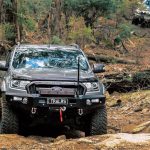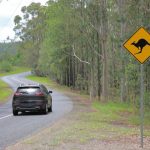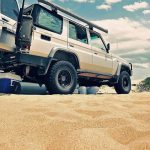
Australia’s diverse landscapes, characterized by everything from dense forests to vast deserts, demand robust and reliable vehicles, especially when navigating off the beaten path. One essential component that helps protect your vehicle and its occupants in the Australian wilderness is the bull bar. These rugged front-end additions are not just about aesthetics; they provide crucial protection against collisions with wildlife and enhance your vehicle’s off-road capabilities.
Tools and Materials
List of Tools Required for Installation
Before you embark on the installation journey of your bull bar, it’s essential to gather the right tools. Here’s a handy list of tools you’ll need for a successful installation:
- Socket and Wrench Set: A variety of socket sizes and wrenches will be indispensable for tightening bolts and securing the bull bar in place.
- Screwdriver Set: Flathead and Phillips screwdrivers are essential for different parts of the installation, such as removing the front grille or securing brackets.
- Power Drill: You may need a power drill for drilling holes in the vehicle’s frame to accommodate the bull bar’s mounting brackets.
- Measuring Tape: Precision matters. A measuring tape will help you ensure that the bull bar is aligned correctly.
- Level: To ensure that the bull bar is installed perfectly straight and level.
- Safety Gear: Don’t forget safety glasses and gloves to protect yourself during the installation process.
Types of Bull Bar Mounting Kits
Bull bars come with various mounting kits, and the choice depends on your vehicle and personal preferences. The common types include:
- Winch-Mount Bull Bars: These are designed to accommodate a winch, making them ideal for serious off-roaders.
- Bumper Replacement Bull Bars: Replacing the factory bumper, these offer robust protection and a sleek look.
- Bolt-On Bull Bars: These are more accessible and can be easily installed with minimal modifications to your vehicle.
Quality Considerations for Bull Bars and Hardware
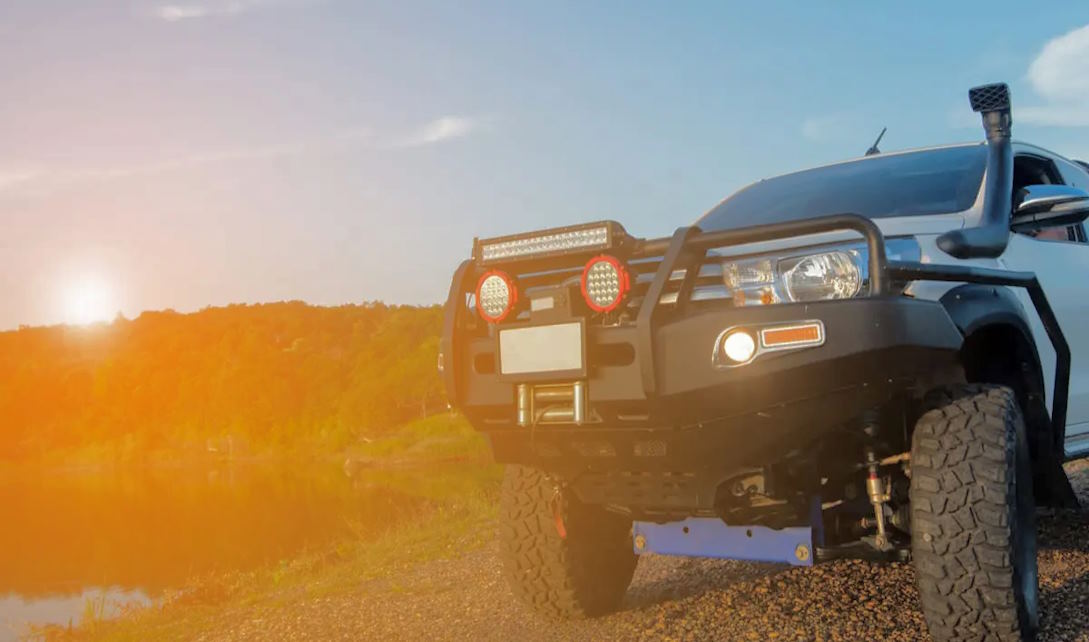
Invest in a high-quality bull bar constructed from sturdy materials like steel or alloy. Ensure it complies with Australian safety standards and regulations. Additionally, pay attention to the quality of the mounting hardware, as it plays a crucial role in the bull bar’s performance and longevity. Quality hardware will not only ensure a secure installation but also withstand the rigors of Australian terrain, providing reliable protection for your vehicle and its passengers. When choosing your bull bar and hardware, prioritize quality and durability for a safer and more enjoyable driving experience.
Installation Steps
Step 1: Assembling the Bull Bar
The first step to installing your bull bar is assembling the unit if it doesn’t come pre-assembled. Lay out all the components and follow the manufacturer’s instructions carefully. Ensure that all brackets, tow hooks, and winch mounts are properly attached. Take your time in this stage to guarantee the bull bar’s structural integrity.
Step 2: Attaching the Mounting Brackets
Mounting brackets are the foundation of your bull bar’s installation. Secure them to your vehicle’s frame using the provided hardware. It’s crucial to follow the guidelines precisely, ensuring that the brackets are level and securely fastened. These brackets will bear the brunt of any impact, so their robust attachment is paramount.
Step 3: Lifting and Aligning the Bull Bar
With the brackets in place, it’s time to lift the bull bar into position. Enlist the help of a friend or a hoist to ensure safety and precision. Align the bull bar with the brackets, double-checking that it’s level and properly centered on your vehicle.
Step 4: Bolting the Bull Bar to the Brackets
Once aligned, bolt the bull bar to the mounting brackets. Begin by hand-tightening the bolts to allow for final adjustments. Ensure that all fasteners are used and tightened according to the manufacturer’s specifications.
Step 5: Checking Alignment and Tightening Bolts
Take a step back and inspect the alignment of the bull bar. Make any necessary adjustments, and then securely tighten all the bolts. The bull bar should be rock-solid and not shift or rattle.
Step 6: Reinstalling the Front Grille
Reattach the front grille you removed earlier, ensuring it fits seamlessly with the bull bar. This step gives your installation a polished and factory-like appearance.
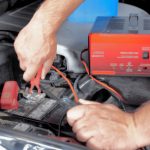
Step 7: Reconnecting the Battery
To wrap up the installation process, reconnect your vehicle’s battery. This step is crucial if you disconnected it for safety reasons during the installation. Double-check all connections and verify that your vehicle’s electrical components are functioning as expected.